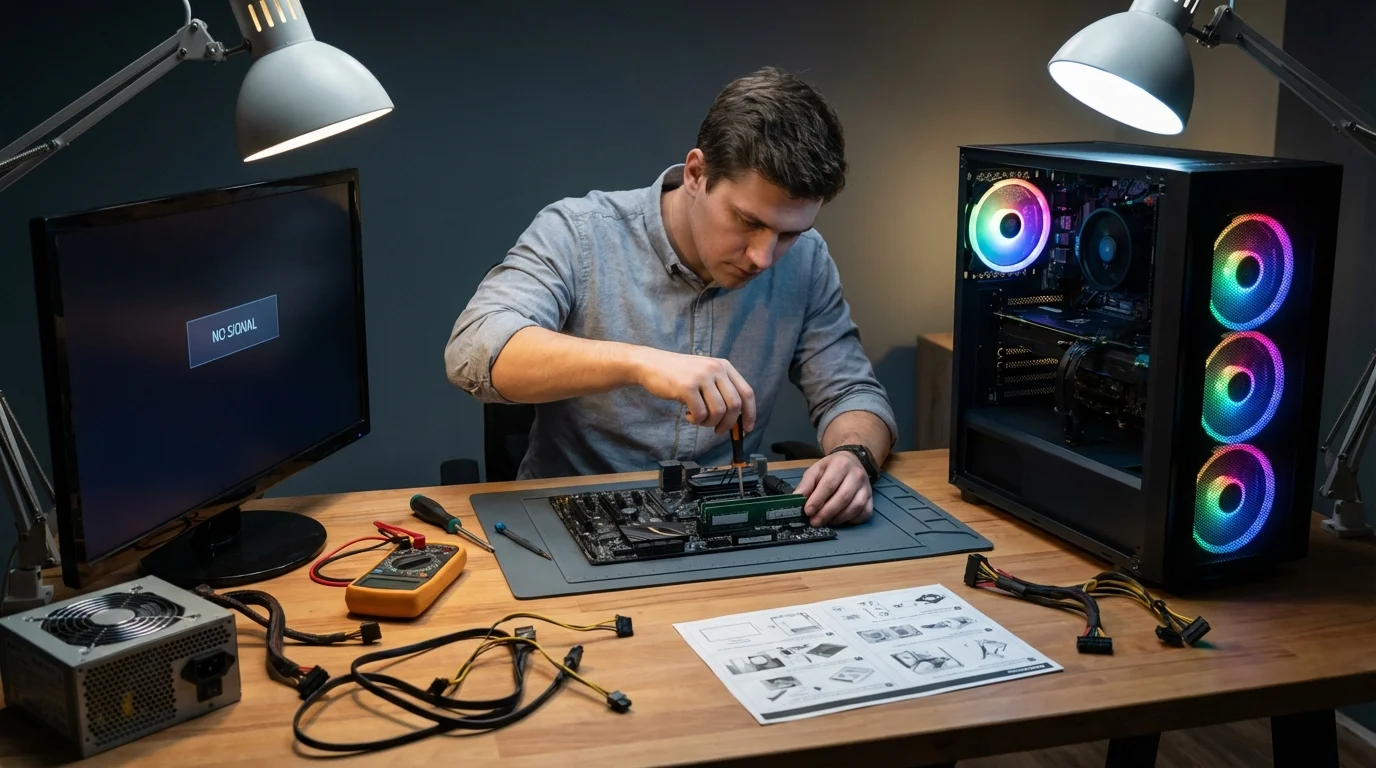
Pressing the power button only to be met with spinning fans, glowing RGB lights, and a stubborn "no signal" message is one of the most frustrating experiences in PC ownership. Whether your system is completely dead or stuck in a boot loop, identifying the exact symptom is the critical first step to resolving the issue. Fortunately, over 90 percent of these boot failures can be fixed at home without requiring expensive professional repairs.
This guide is designed for both novice builders and veteran PC enthusiasts facing sudden hardware failures. By systematically isolating components, you can save time, avoid unnecessary part replacements, and get your workstation or gaming rig back online safely. Modern PC components are highly sensitive to power fluctuations, static discharge, and minor seating issues. A single faulty USB device or a slightly dislodged RAM stick can completely halt the Power-On Self-Test (POST) process, making a systematic diagnostic approach essential.
How to Fix a PC That Does Not Turn On at All
If there is absolutely no response when you press the power button, the issue lies with the primary power delivery or the power supply unit (PSU).
- Test the wall outlet with another device like a lamp or phone charger. This ensures the problem is actually with your PC and not a tripped circuit breaker or dead socket.
- Verify the power supply unit (PSU) switch on the back is set to the ON (|) position. This enables power delivery, as the switch is often accidentally flipped during cleaning or moving.
- Swap the IEC C13 power cable with a spare. This eliminates the power cord as the point of failure, as these cables can fail silently over time.
- Perform the paperclip test by unplugging all cables, bridging the green wire (PS_ON) and any black wire (GND) on the 24-pin connector, and plugging it back in. This isolates the PSU from the motherboard to confirm if the unit is dead (no fan spin) or alive.
How to Fix a PC with Power but No Display
If your fans spin and RGB lights activate but the screen remains black, the system is failing its POST sequence or outputting to the wrong source.
- Test the monitor with a phone, laptop, or console using a different HDMI or DisplayPort cable. This eliminates the display and the cable as the root cause, which are surprisingly common points of failure.
- Plug your display cable directly into the dedicated graphics card (GPU) rather than the motherboard. This ensures you are using the active video output, as motherboard ports are disabled by default when a dedicated GPU is installed.
- Unplug every single USB device, external drive, and printer from the system. This prevents faulty peripherals from shorting out the system or hanging the boot sequence.
- Reseat the RAM by removing all sticks, cleaning the gold contacts with a dry eraser, and inserting one stick into slot A2. This resolves memory detection errors caused by dust, static, or improper seating.
- Clear the CMOS by removing the flat coin-shaped battery on the motherboard for 10 minutes before reinserting it. This resets the BIOS to factory defaults, clearing any corrupted settings or failed overclocks that prevent booting.
- Reseat the GPU by removing it completely, cleaning the PCIe slot, and pressing it firmly until the retention clip clicks. This fixes connection issues caused by GPU sag or incomplete insertion.
How to Diagnose Brief Power Cycles and Short Circuits
When fans spin for a second and immediately shut off, the system is usually protecting itself from a short circuit or power instability.
- Remove the motherboard from the case entirely and place it on a non-conductive surface like cardboard. This prepares the system for a breadboard test to isolate case-related electrical shorts.
- Connect only the 24-pin power, 8-pin CPU power, one RAM stick, and the CPU. This strips the system down to the absolute minimum components required to achieve a successful POST.
- Short the power pins on the motherboard with a screwdriver to trigger the boot sequence. This bypasses the case power button, proving whether the issue is a faulty case switch or an internal short circuit caused by extra standoffs.
Understanding Motherboard Beep Codes
If your system has a motherboard speaker installed, it will emit specific beep patterns to indicate hardware failures. Consult your motherboard manual for exact codes, but these are the most common indicators.
| Beep Pattern | BIOS Brand | Meaning |
|---|---|---|
| 1 long, 2 short | AMI / AWARD | Video card error |
| Continuous beeping | Most Brands | RAM not detected |
| 3 long beeps | AMI | Keyboard error |
| 1 long, 3 short | AMI | Memory failure |
How to Resolve Random Shutdowns and Laptop Boot Issues
Systems that boot but randomly shut down are typically suffering from thermal throttling, power starvation, or driver conflicts.
- Check system temperatures using software like HWMonitor or CoreTemp to ensure the CPU idles under 45 degrees Celsius and the GPU under 50 degrees Celsius. This identifies overheating issues that trigger automatic thermal shutdowns to protect the silicon.
- Calculate your total system wattage using a tool like PCPartPicker to ensure your PSU can handle your components. This confirms whether a newly installed GPU is starving the system of power during load spikes.
- Boot the system with a USB drive running MemTest86 and leave it overnight. This thoroughly tests the RAM for memory errors that cause random system crashes under load.
- Rollback your graphics drivers, especially if the random shutdowns began after a recent Windows update. This eliminates software conflicts where unstable GPU drivers cause the system to crash and reboot.
- Perform a hard reset on laptops by removing the battery and AC adapter, holding the power button for 30 seconds, and reconnecting only the AC power. This discharges residual static electricity from the capacitors, often reviving seemingly dead laptops.
- Shine a flashlight directly onto a black laptop screen upon boot. This reveals if the LCD panel is actually displaying a faint image, indicating a dead backlight rather than a dead motherboard.
My Take: The Value of Systematic Troubleshooting
The sheer volume of "dead PC" posts on forums like r/techsupport highlights a common pitfall: users often rush to replace expensive components before isolating the actual fault. Based on the diagnostic steps outlined above, the vast majority of boot failures stem from minor physical connection issues rather than dead silicon. Reseating RAM and clearing the CMOS resolve an overwhelming percentage of black screen errors, proving that patience is more valuable than a credit card when troubleshooting.
Furthermore, the breadboard test remains the ultimate diagnostic tool for isolating short circuits. Modern PC cases are packed with metal standoffs, RGB controllers, and tight cable routing, increasing the risk of a stray screw shorting the back of the motherboard. By removing the board from the chassis, you instantly eliminate dozens of variables, saving hours of frustrating guesswork.
Ultimately, knowing when to stop is just as important as knowing where to start. If a minimal breadboard test fails, or if you discover bent CPU socket pins and visible capacitor damage, it is time to leverage your warranty. Attempting advanced board-level repairs on hardware still under warranty will void your coverage, turning a free manufacturer replacement into a costly total loss.