
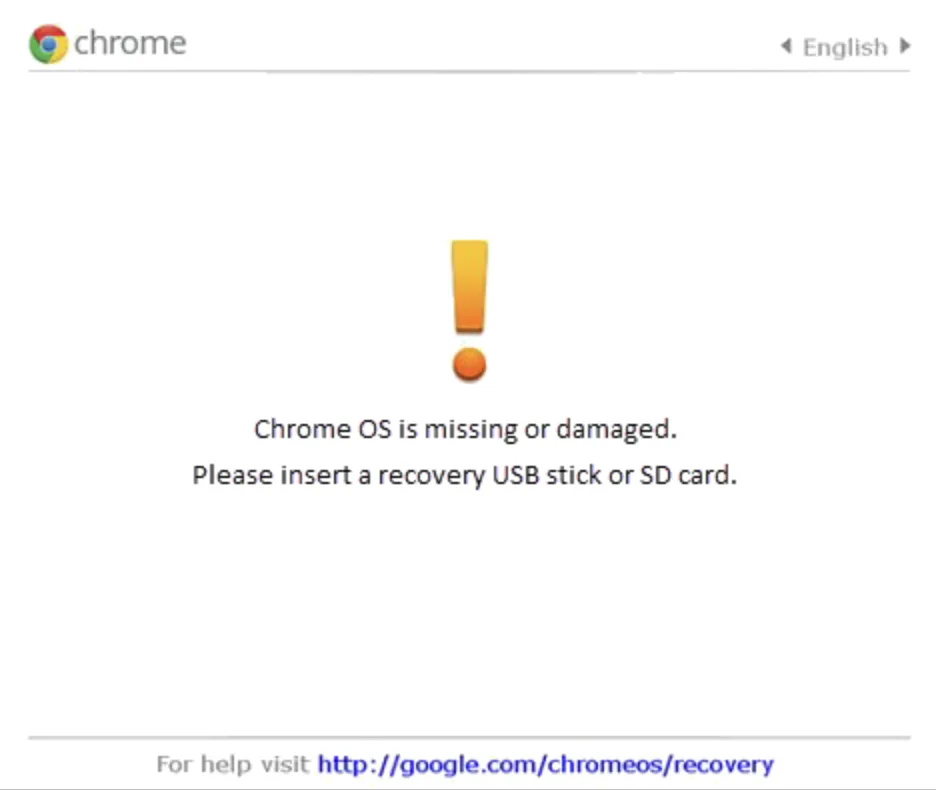
Chromebook users encountering the dreaded "ChromeOS is missing or damaged" screen are entirely locked out of their system before the sign-in page even loads. This critical error indicates the device cannot locate a usable copy of its operating system, halting the boot process immediately. The only viable solution is a full system recovery, which reinstalls a fresh copy of the operating system directly from Google.
Four distinct situations trigger this exact message, and identifying the cause can save significant troubleshooting time. An update that stopped partway due to a dead battery is a common culprit, usually appearing on the first restart after the update. A damaged system partition caused by forced shutdowns, or simply leaving a USB drive plugged in during startup, can also confuse the boot path. Finally, failing internal storage or a security module fault will cause the message to return immediately after a clean recovery attempt.
Prerequisites for System Recovery
Before initiating the fix, users must gather specific details to avoid wasting time and resources. Recovery permanently erases everything stored locally on the Chromebook, including files in the Downloads folder, though anything synced to a Google Account will return upon sign-in.
- The exact model number: This is printed at the bottom of the error message on the broken screen, not the brand name on the lid or the serial number underneath.
- A secondary computer: If internet recovery is unavailable, you need a Windows, Mac, or ChromeOS device running the Chrome browser.
- A USB flash drive: You need a drive with 8 GB or larger capacity that can be completely erased.
- The device charger: Recovery writes a fresh system to internal storage, and losing power partway through will force you to restart the entire process.
How to Recover ChromeOS Over the Internet
If your device supports it, this method is the fastest way to restore functionality without needing external media.
- Plug in the device charger. This ensures the Chromebook does not lose power during the critical system write process.
- Unplug all external peripherals, including mice, USB drives, SD cards, dongles, and hubs. This prevents external hardware from interfering with the boot path.
- Hold the Esc and Refresh keys, then press the Power button. This forces the hardware into its dedicated recovery mode. On some models, use the Maximize key instead of Refresh.
- Select the Recover using internet connection option on the screen. This enables the device to download the system image directly without needing a secondary computer.
- Join a Wi-Fi network when prompted and leave the device alone. This allows the system to download the image and restart automatically once finished.
For Chromebook tablets without a keyboard, hold the Volume Up, Volume Down, and Power buttons together for at least ten seconds. On a Chromebox or Chromebit, press the dedicated recovery button with a paperclip while connecting the power. If the internet recovery option does not appear, you must proceed to the USB method.
How to Build a USB Recovery Drive
If your device lacks the internet recovery feature, you must manually build a bootable drive using a secondary computer.
- Install the Chromebook Recovery Utility extension from the Chrome Web Store on a working computer. This official tool published by Google is required to build the bootable media.
- Open the utility from the Extensions menu in the Chrome toolbar and select Get started. This launches the setup wizard for the recovery drive.
- Enter the exact model number copied from the error screen. This ensures the utility downloads the specific system image tied to your exact hardware configuration.
- Insert the 8 GB USB drive and select it from the dropdown menu. This designates the target drive, which will be completely erased during the formatting process.
- Select Create now and wait for the completion message. This writes the fresh operating system onto the external media.
- Insert the USB drive into the broken Chromebook while it is in recovery mode and select Recover using external disk. This initiates the reinstallation process from your prepared drive.
Common Recovery Errors and Ineffective Fixes
The recovery process itself can generate specific error messages that require different troubleshooting steps. If the screen displays "The device you inserted doesn’t contain ChromeOS," the drive holds the wrong image and must be rebuilt using the exact model number. An "unexpected error" prompt usually means the USB drive itself is incompatible, a surprisingly common issue that requires trying a different flash drive.
Crucially, several common troubleshooting steps will not work for this specific OS failure. Running a Powerwash (factory reset) is impossible because the system files required to execute it are missing. Similarly, restarting repeatedly, charging the battery overnight, or enabling Developer Mode will not magically restore the missing system files. A recovery drive made for a different Chromebook will also be rejected, as images are strictly tied to specific models.
The Hardware Fault Nobody Mentions
While Google positions the "ChromeOS is missing or damaged" screen primarily as a software hurdle, the persistence of this error often masks a terminal hardware failure. When a clean recovery process completes successfully but the exact same error message returns on the next boot, the internal storage drive has likely degraded beyond repair. Because most modern Chromebooks solder their eMMC storage directly to the motherboard, this specific failure mode effectively totals the device.
Furthermore, if the recovery process halts with a message stating "The security module on this device isn’t working," users are hitting a hard cryptographic wall. The ChromeOS verified boot process relies on this dedicated security chip to validate system files. When that chip fails, no amount of USB recovery drives or internet reinstalls will bypass the hardware-level lockdown, requiring a full motherboard replacement or a completely new device.