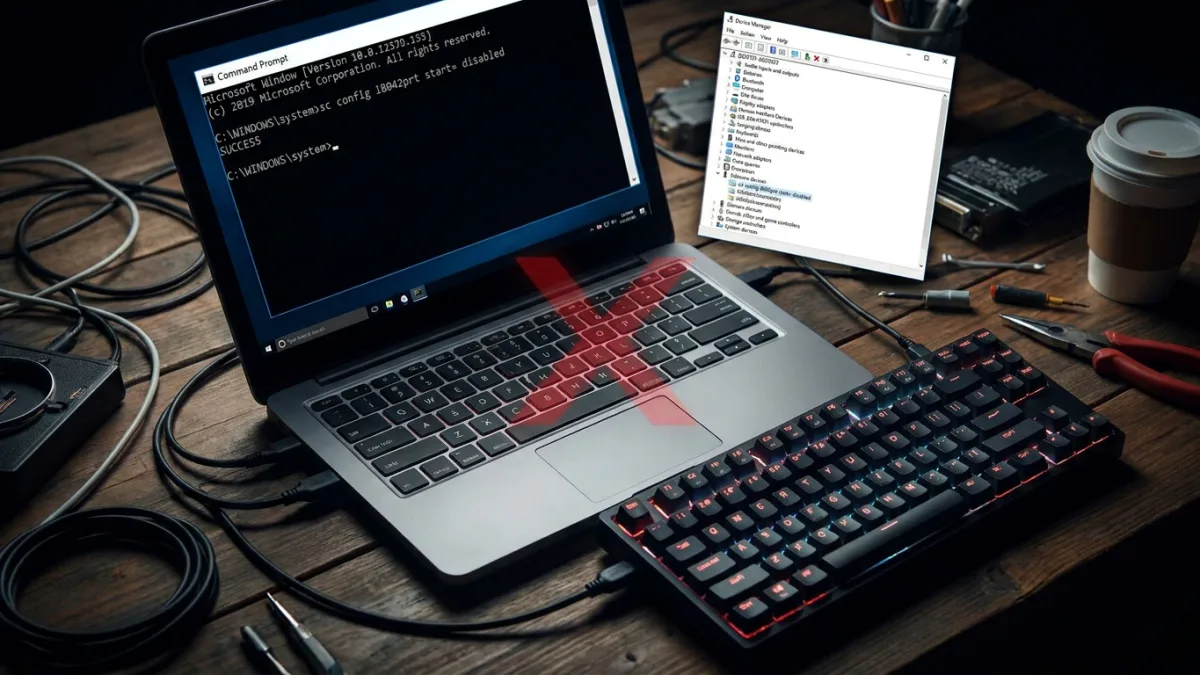
When a built-in keyboard breaks or a full-sized external model offers better typing space, users can disable a laptop keyboard in Windows via Device Manager or Command Prompt. Because the integrated keyboard serves as the laptop's primary input method, turning it off requires locating the correct device ID first.
Identify the built-in laptop keyboard in Device Manager
Whether disabling the keyboard temporarily or permanently, removing the input device in Device Manager is required. Because Windows lists every recognized keyboard there - including external models - the integrated unit must be identified first:
- Press the Win + R shortcut to open Run.
- Type the command devmgmt.msc and click OK to launch Device Manager.
- Expand the Keyboards section inside the window.
- Right-click the first keyboard entry (HID/Standard) and select Properties.
- Check the Location section under the General tab. Entries reading Location 1 or Plugged into keyboard port likely indicate the internal laptop keyboard, while Bluetooth and USB keyboards display On Bluetooth Low Energy and On USB Input Device, respectively.
If the internal keyboard is missing from the list, configure Device Manager to show hidden devices.
Disable the laptop keyboard temporarily by uninstalling drivers
Once the integrated keyboard has been identified, removing its driver entries turns it off for the current session:
- Right-click every HID and PS/2 Keyboard entry whose Location under Properties is set to Location 1 or Plugged into keyboard.
- Select the Uninstall Device option from the context menu.
- Confirm the removal by clicking Yes.
This change lasts only until the next restart. When the system reboots, Windows scans for connected but unrecognized hardware, reinstalls the required drivers, and restores input from the built-in keyboard.
Disable the laptop keyboard permanently via Command Prompt
To keep the built-in keyboard turned off across reboots, users can disable its driver - the PS/2 i8042prt service - using Command Prompt. This method relies on the sc command-line utility to set the service start parameter to disabled:
- Complete the temporary removal steps above to uninstall the keyboard device from Device Manager.
- Press the Win key and enter cmd in the Windows search bar.
- Right-click on Command Prompt, choose Run as Administrator, and click Yes at the UAC prompt.
- Enter the command below in the Command Prompt window and press Enter:
sc config i8042prt start= disabled- Close the Command Prompt window after the success message appears, then restart the PC. Following the restart, the built-in laptop keyboard stops registering input.
Both uninstalling the keyboard from Device Manager and restarting the PC are required for this configuration to take effect.
Re-enable the keyboard service
To turn the integrated keyboard back on later, open an elevated Command Prompt window and enter the following command:
sc config i8042prt start= autoOnce the success message appears, restart the computer to apply the restored setting.
Disable the built-in keyboard with an incompatible driver
MakeUseOf also details an unconventional alternative that stops the integrated keyboard by intentionally installing an incompatible driver for the input device:
- Open the Device Manager window and expand the Keyboard section.
- Right-click the internal laptop keyboard entry and select Update driver.
- Select the Browse my computer for drivers option.
- Choose the Let me pick from a list of available drivers on my computer option.
- Uncheck the Show compatible hardware checkbox.
- Pick a random entry under the Manufacturer column.
- Click the Next button, then select Yes if an Update Driver Warning dialog appears.
- Close the Device Manager window after installation completes and reboot the computer. Once the PC restarts, the built-in keyboard stops working.
Restore a compatible keyboard driver
To re-enable the keyboard automatically, right-click the keyboard entry in Device Manager, choose Update driver, and select Search automatically for drivers so Windows locates and installs a compatible driver.
Alternatively, choose Browse my computer for drivers in the Update Drivers dialog, followed by Let me pick from a list of available drivers on my computer. Confirm that Show compatible hardware is enabled, select an HID Keyboard Device driver from the list, click Next, wait for installation to finish, and reboot to restore the keyboard.
When to disable the built-in keyboard or troubleshoot instead
Because a laptop's built-in chiclet keyboard serves as its primary input method, Windows includes no single-click toggle to disable it, which also prevents accidental shutoffs. If a keyboard has gone rogue and begins typing on its own, permanently disabling it with Command Prompt and Device Manager stops the unwanted input.
Hardware faults are not the only reason a laptop keyboard may behave erratically. When non-hardware problems are behind the behavior, checking for pending driver updates, using the built-in troubleshooter, or disabling individual keys offers alternative fixes.
This article was written by AI.