
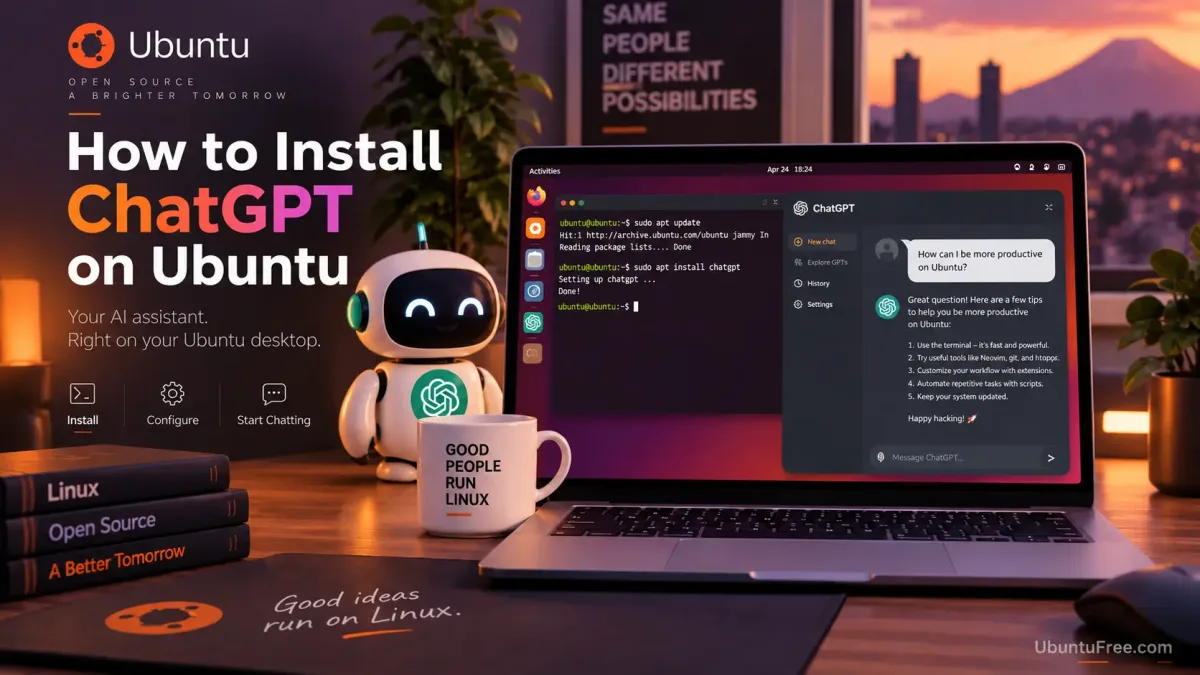
Linux users can now integrate OpenAI's official desktop application directly into their workflow, bypassing the browser entirely. The newly released application to install ChatGPT on Ubuntu 26.04 and 24.04 brings local file access and native git repository integration through Codex. This guide is for developers and power users who want to run the AI assistant natively on their Linux machines. Installing the official package enables direct code reviews and ensures future updates arrive seamlessly through standard system package managers.
Unlike a simple web wrapper, the desktop client is a robust 417MB download for x64 systems (396MB for ARM64) that expands to approximately 1.4GB once installed. It brings its own runtime and operates under an AppArmor profile located at /etc/apparmor.d/chatgpt, ensuring it adheres to the security system Ubuntu already runs. While a free OpenAI account is required to use the basic chat and file upload features, heavier tools like the Codex coding agent require a paid subscription.
How to Install the Official Package
OpenAI provides a dedicated .deb package for Debian-based systems, including Ubuntu and Debian 13, as well as an .rpm package for Fedora 43 and 44. Follow these steps to download and install the application via the terminal.
- Download the latest package using the terminal. This ensures you fetch the most current build directly from OpenAI's servers without navigating the website.
cd ~/Downloads
wget https://persistent.oaistatic.com/codex-app-prod/linux/deb/latest/chatgpt_amd64.deb- Install the downloaded file using the apt package manager. This command installs the application and automatically pulls in any required dependencies, including git.
sudo apt install ./chatgpt_amd64.debThe ./ prefix is critical; without it, the system will search the standard Ubuntu archives for a package named "chatgpt" and fail. During installation, the system will add OpenAI's signed repository to /etc/apt/sources.list.d/chatgpt.sources, meaning future updates will arrive alongside your regular system upgrades.
Unlocking Codex for Local Git Repositories
The standout feature of the desktop client is Codex, a coding agent designed to work inside your local git repositories. Instead of copying and pasting code into a browser, Codex reads your local files, writes changes, and presents a diff for your approval before committing anything.
To use this feature, you must point the application at a folder that is already initialized as a git repository. If you attempt to use Codex in a standard folder, it will fail to see the files. You can verify your folder's status by running git -C ~/your-project status. If it is not a repository, simply run git init and make an initial commit to provide Codex with a history to diff against.
Fixing the Wayland Keyboard Bug
Many Ubuntu users will encounter a frustrating bug upon first launch: the window opens, but the keyboard is completely unresponsive. This occurs because the application fails to connect to Ubuntu's default IBus input method inside a Wayland session. You can bypass this temporarily by launching the app with GTK_IM_MODULE=xim chatgpt.
To apply a permanent fix, you must modify the application's desktop launcher to force the older input method every time it starts.
- Copy the system launcher to your local applications folder. This ensures your custom configuration overrides the system default and survives future app updates.
mkdir -p ~/.local/share/applications
cp /usr/share/applications/chatgpt.desktop ~/.local/share/applications/- Modify the execution line to include the environment variable. This automatically applies the input fix whenever you launch the app from your desktop menu.
sed -i 's|^Exec=|Exec=env GTK_IM_MODULE=xim |' ~/.local/share/applications/chatgpt.desktopIf you are using Fcitx5 for languages like Korean, Japanese, or Chinese, the fix requires a different approach. You must explicitly request native Wayland input by launching the app with chatgpt --ozone-platform=wayland --enable-wayland-ime.
How to Cleanly Remove the Application
If you decide to uninstall the application, using the standard remove command will leave OpenAI's repository and signing keys active on your system. To ensure a clean removal, you must use the purge command.
- Purge the application and its associated configuration files. This deletes the program, the repository source list, and the signing key entirely.
sudo apt purge chatgpt
sudo apt autoremove
Because all conversations are processed and stored on OpenAI's servers, removing the local application will not delete your chat history. Your data remains safely attached to your OpenAI account.
The Linux Desktop Parity Gap
OpenAI's decision to release a native Linux client - complete with AppArmor confinement and proper repository signing - signals a serious commitment to developers who rely on Ubuntu and Fedora. The integration of Codex directly into local git workflows transforms the AI from a passive chatbot into an active pair programmer. However, the Linux build remains explicitly labeled as a preview, and the feature gap is noticeable.
The highly anticipated "Computer Use" feature, which allows the assistant to click and type across other applications, is currently restricted to macOS and Windows. Furthermore, despite the heavy 1.4GB local footprint, the application offers zero offline capabilities; every prompt still requires a round-trip to OpenAI's servers. Until local model execution or full desktop control arrives, this release is best viewed as a highly optimized workflow bridge rather than a standalone local AI solution.